Smart irrigation controllers are worth the investment for most homeowners who want to cut outdoor water waste and gain remote control over their landscape. They replace fixed timer schedules with feedback-driven programming that adjusts to weather, soil, and plant needs automatically.
The evidence backs this up on two fronts. The EPA’s WaterSense program estimates that swapping a standard clock-based controller for a WaterSense labeled model saves the average home between 7,600 and 15,000 gallons of water per year. Separately, peer-reviewed research puts the typical reduction at around 15% for general users, climbing past 40% for households that had been significantly overwatering.
What you get in practice:
- Automatic schedule adjustments based on weather data or soil moisture readings
- Fewer soggy lawns and runoff events from overwatering
- Remote scheduling and monitoring from a phone app
- Eligibility for utility rebates tied to WaterSense certification
The bottom line: the technology works, but only when it’s programmed correctly for your specific yard.
Table of Contents
- What Are Smart Irrigation Controllers and How Do the Main Types Differ?
- How Much Water and Money Can a Smart Controller Actually Save?
- What Should You Look for When Choosing a Controller?
- What Does Installation Cost, and Should You Hire a Pro?
- How Do You Program a Controller to Actually Save Water?
- How Do You Maintain and Troubleshoot a Smart Controller?
- How Do Complex Backyard Projects Change the Irrigation Equation?
- What Should You Remember Before You Buy?
- Where Can You Verify These Numbers Yourself?
- What Homeowners Consistently Get Wrong About These Systems
- When Does a Design-Build Approach Make More Sense Than a DIY Install?
- Sources
What Are Smart Irrigation Controllers and How Do the Main Types Differ?
A smart irrigation controller is any device that adjusts watering schedules based on incoming data instead of running a fixed clock program every day regardless of conditions. Think of it as a thermostat for your lawn. A standard timer runs the same cycle whether it rained yesterday or the forecast calls for triple digits. A smart controller checks conditions first, then decides whether to run, skip, or shorten the cycle.
Three approaches dominate the market, each collecting its data differently.
- Weather-based irrigation controllers (WBICs) pull local weather data, either from an onboard sensor or an internet feed, and calculate evapotranspiration rates to set daily watering needs. They’re the most common type sold to homeowners.
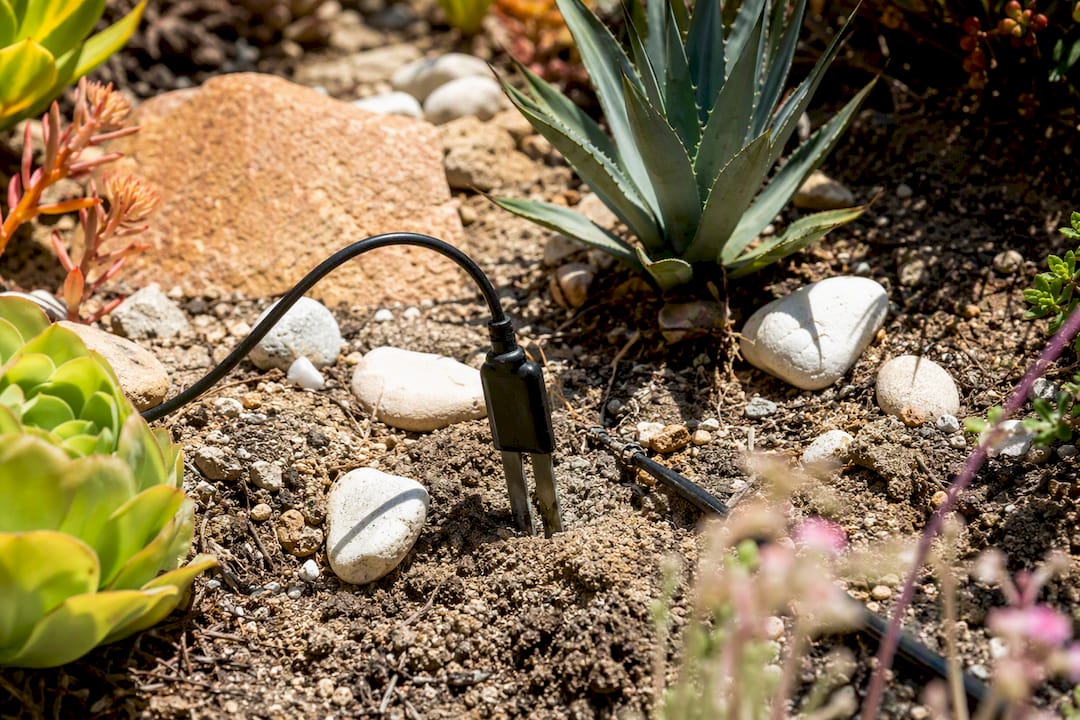
- Soil moisture-based controllers use probes buried in the root zone to measure actual moisture content and water only when the soil drops below a set threshold.
- Add-on sensor devices attach to an existing timer and layer in rain skip or freeze protection without replacing the whole controller.
Weather-based systems tend to be easier to retrofit since they don’t require digging or burying anything, which is a major reason they’ve outpaced soil-moisture systems in residential adoption. Soil moisture sensors are often more accurate for water-stressed lawns, but installation means trenching and cable runs that many homeowners aren’t equipped to do themselves.
Here’s how the trade-offs shake out:
- WBICs: Simple retrofit, no digging, dependent on the accuracy of the weather data source
- Soil moisture sensors: More precise for actual root-zone conditions, higher install cost and complexity
- Add-on sensors: Cheapest upgrade path, but limited to rain skip and freeze protection rather than full weather-based scheduling
WaterSense labeling matters here because it’s the only third-party verification that a controller actually performs as advertised. A device carrying that label has been tested against specific performance criteria rather than just marketed as “smart.”
How Much Water and Money Can a Smart Controller Actually Save?
The math is genuinely compelling, but the range is wide because results depend heavily on how badly you were overwatering before. The EPA’s WaterSense estimate of 7,600 to 15,000 gallons saved annually applies to an average home replacing a standard timer with a certified controller. That’s roughly the volume of a small backyard pool, saved every year, just from smarter scheduling.
By the numbers: Research reviewed by the American Society of Agricultural and Biological Engineers found smart controllers cut water demand by about 15% for typical users, and by more than 40% for households that had been running excessive irrigation cycles.
If your lawn was already dialed in with careful manual scheduling, don’t expect a dramatic drop. If your sprinklers have been running on autopilot for years without adjustment, the upside is substantial.
Several variables determine where you land in that range:
- Correct soil type and application rate settings entered during setup
- Physical condition of the irrigation system, including leaks and clogged heads
- Sensor placement and calibration accuracy
- Local climate variability and how often the controller actually adjusts
Adoption is still catching up to the technology. Despite an estimated 28 million sprinkler systems installed across the U.S., fewer than 10% currently use smart controllers, which suggests plenty of households are still leaving savings on the table. Rebates can meaningfully shorten your payback period. Many water utilities offer cash-back programs for WaterSense labeled models, and combining a rebate with the water bill savings often means the hardware pays for itself within a season or two.
What Should You Look for When Choosing a Controller?
Picking a controller by brand name alone is a mistake. The right choice depends on your yard’s wiring, your zone count, and how much manual tinkering you’re willing to do. Here’s the practical checklist.
Start with zone capacity. Count your existing valve zones, then add a buffer for any future expansion like a new garden bed or drip line. Buying a controller with exactly the number of zones you have today means starting over if you add even one more.
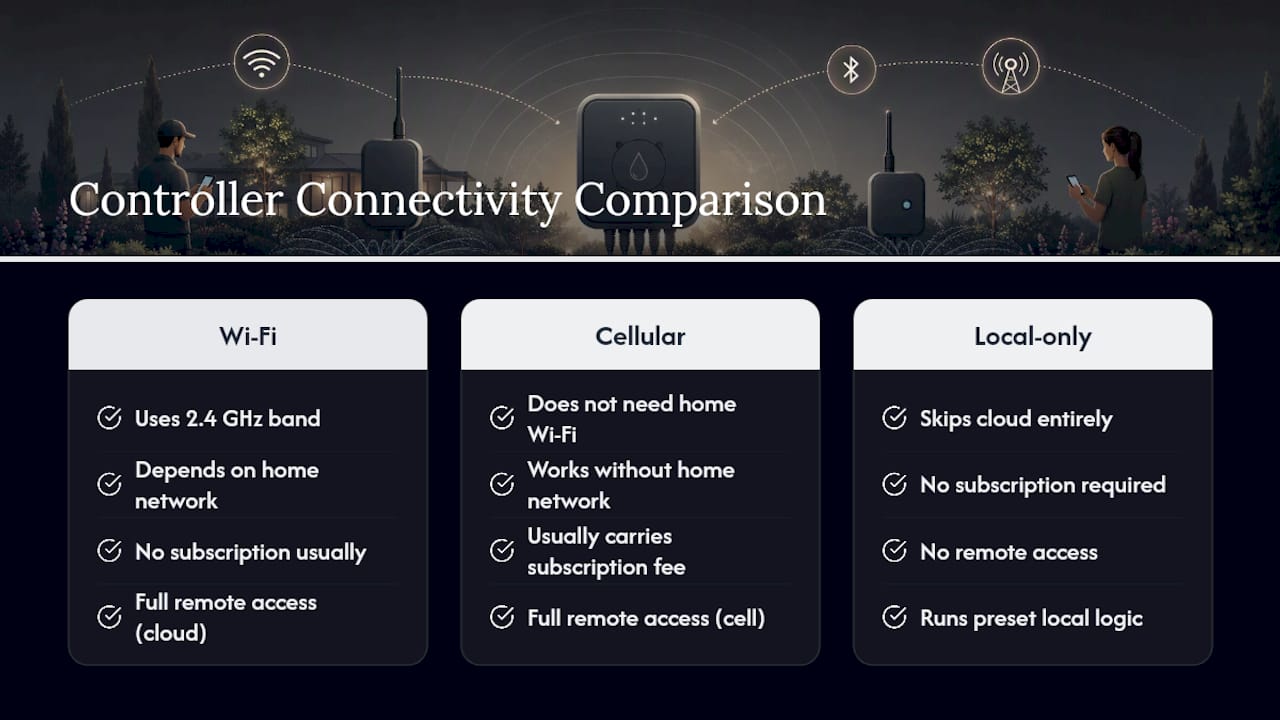
Consider connectivity carefully. Wi-Fi controllers (most run on the 2.4 GHz band for better range through walls) are the most common and typically the easiest to set up, but they depend on a stable home network and won’t function fully if your internet drops. Cellular-connected models work without home Wi-Fi but usually carry a subscription fee. Local-only controllers skip the cloud entirely and run on preset logic, which sacrifices remote access but eliminates any dependency on an internet connection.
Match sensor compatibility to your problem areas. A soil moisture probe helps most on lawns with inconsistent soil composition or shaded zones that dry differently than sunny ones. A flow sensor detects leaks or blown lines by flagging abnormal water usage in real time. A rain sensor is a low-cost add-on that prevents cycles from running during or right after a storm.
Understand the data and subscription model before buying. Some controllers pull weather data from a public feed at no extra cost. Others charge an annual signal fee for hyperlocal forecasting or advanced ET-based algorithms. Read the fine print, since a “smart” controller with a lapsed subscription may quietly revert to a basic timer.
Check usability and privacy implications. A clunky app defeats the purpose of a remote-access controller. Look for straightforward zone naming, clear run-time history, and manual override that doesn’t require three menu taps. Since these devices connect to your home network and often store usage data in the cloud, it’s reasonable to ask what the manufacturer collects and whether the account can be deleted along with its data.
Confirm WaterSense certification before assuming rebate eligibility. Not every controller marketed as “smart” carries the label, and utilities typically require it for rebate paperwork.
Pro Tip: Before buying, call your local water utility or check its rebate portal. Some programs require the model number to appear on the WaterSense product list at the time of purchase, not just at a later date.
Red flags worth walking away from: no published WaterSense certification when the marketing implies otherwise, no manual override option, and no clear answer about what happens to your schedule if the subscription lapses.
What Does Installation Cost, and Should You Hire a Pro?
Hardware pricing varies more by feature set than by brand reputation. Entry-level Wi-Fi timers sit at the budget end, while prosumer weather-based controllers with more zones and advanced algorithms cost more. Add-on soil moisture or flow sensors typically run as separate line items on top of the base unit.
Installation complexity is where costs diverge sharply.
- Direct swap-outs are usually the simplest job. If your existing timer has standard wiring and accessible valves, replacing it is often a same-afternoon DIY project.
- Systems with pump-start relays or pressure-boost equipment add electrical complexity that raises the stakes of a wiring mistake.
- Buried soil sensors or inaccessible valves require trenching, cable runs, or crawling into tight access points, which is where many homeowners decide to call in help.
Extension guidance from Oklahoma State University recommends hiring a professional specifically when a system includes pump-start relays, pressure-boost components, or valves that are hard to reach. Straightforward replacements, by contrast, are generally DIY-friendly.
If you do hire out the work, ask about permit requirements in your area, whether the installer offers a workmanship warranty separate from the manufacturer’s hardware warranty, and whether they’ll document the wiring with photos before making changes.
Speaking of documentation, that habit matters even for DIY jobs. Photograph your controller’s wiring terminals before disconnecting anything. It costs nothing and turns a potentially confusing rewiring job into a simple reference-and-match exercise.
For rebate paperwork, utilities generally want a dated purchase invoice, the model number confirming WaterSense status, and sometimes a photo of the installed unit. Keep these together before you file, since some programs have submission windows tied to the purchase date.
How Do You Program a Controller to Actually Save Water?
Buying the right hardware is half the job. The other half, and arguably the more important one, is programming it to match your actual yard instead of leaving factory defaults in place.
- Map your hydrozones first. Group sprinkler heads by soil type, slope, plant type, and sun exposure. A shaded, flat lawn area and a sloped, sun-baked strip along a driveway have completely different water needs, and lumping them into one zone guarantees one of them gets it wrong.
- Enter accurate soil type and application rate data. This single step often produces bigger improvements than switching brands entirely, since the controller’s calculations are only as good as the inputs you give it. Clay soil absorbs water slowly and needs longer soak time between shorter bursts; sandy soil drains fast and needs more frequent, shorter cycles.
- Use cycle-and-soak scheduling on clay or compacted soils. Instead of running a zone for 20 straight minutes, split it into three 6 to 7 minute bursts with a rest period between each. This lets water absorb instead of running off into the street, and it’s often the single most effective programming change on tougher soils.
- Set rain-skip thresholds, freeze protection, and high-temperature overrides. These are the features that separate a “smart” controller from a glorified timer. A rain-skip setting should cancel or delay cycles after meaningful rainfall, not just a light drizzle.
- Use the percent adjust or water budget feature to scale the entire schedule up or down without reprogramming every zone individually. This is especially useful during seasonal transitions.
- Validate your setup with flow monitoring and runtime reports after the first few weeks. If a zone is running far longer than expected, that’s often your first sign of a leak, a stuck valve, or a miscalibrated sensor.
Pro Tip: Run your new schedule for two weeks, then walk the yard right after a cycle finishes. Puddling or runoff at the low end of a zone is the clearest sign you need shorter, more frequent bursts rather than one long soak.
How Do You Maintain and Troubleshoot a Smart Controller?
A smart controller isn’t a “set it and forget it” device. Seasonal upkeep keeps it delivering the savings it’s capable of.
- Check soil and flow sensors each season for debris, dislodged placement, or drift in readings.
- Confirm the app has synced recently and that firmware updates have installed.
- After any manual override (say, running an extra cycle for new sod), manually switch the controller back to smart mode.
Common alerts and what they usually mean:
- Lost weather signal: Often a temporary feed outage; check the manufacturer’s status page before assuming a hardware fault.
- Weak Wi-Fi connection: Move the controller closer to the router or add a mesh extender near the garage or utility area where units are typically mounted.
- High or low flow events: Usually a sign of a broken head, a stuck valve, or a leak somewhere in the line.
Before disconnecting any wiring for troubleshooting, photograph the terminal layout first. If the issue involves a pump relay, pressure-boost equipment, or a valve you can’t physically access, that’s the point to call a professional rather than keep guessing.
How Do Complex Backyard Projects Change the Irrigation Equation?
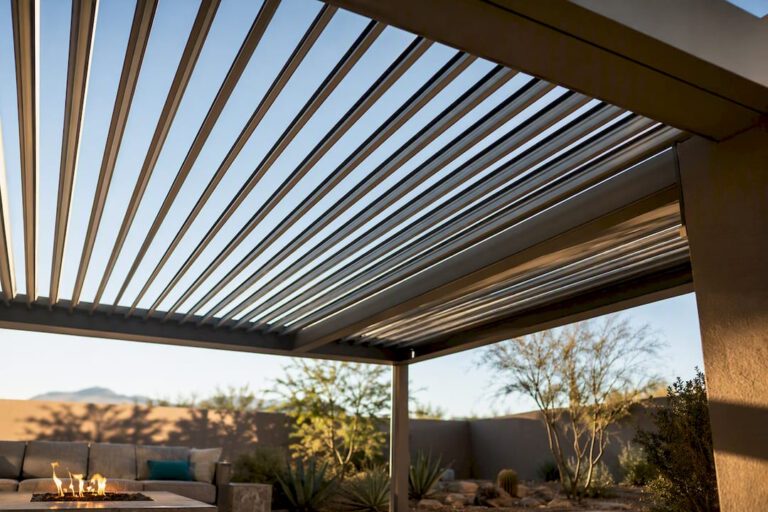
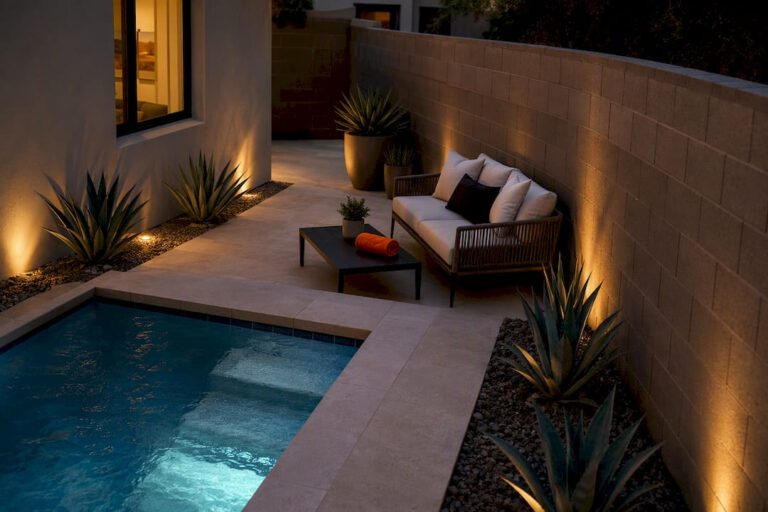
Irrigation rarely exists in isolation on a high-end property. When a backyard includes a pool, integrated lighting, and a built-in kitchen, the irrigation wiring often shares trenches, panels, or conduit runs with those other systems. Coordinating all of it under one design-build process avoids the conflicts that show up when irrigation gets installed as an afterthought.
Projects Uniquecompanies designs across the Phoenix metro area involve irrigation planning happening alongside electrical layout and hardscape design from the start, not bolted on once the pool deck is already poured. That sequencing is what prevents a soil moisture sensor cable from ending up under a paver patio with no access point.
For yards where a controller will interact with pump relays, pressure-boosted zones, or pool automation equipment, Uniquecompanies generally recommends professional flow monitoring and electrical coordination rather than a standalone DIY install. With over 24 years of experience, an in-house permitting process, and 3D visualization tools used during design, the firm builds irrigation into the broader plan rather than treating it as a separate purchase.
What Should You Remember Before You Buy?
Smart irrigation controllers deliver real water savings when the programming matches the yard’s actual soil, slope, and plant mix, not just the factory defaults.
| Point | Details |
|---|---|
| Expect meaningful savings | WaterSense certified controllers save an average home 7,600 to 15,000 gallons yearly over standard timers. |
| Savings scale with prior habits | Reductions run about 15% for typical users and over 40% for previously heavy overwaterers. |
| Setup matters more than brand | Accurate soil type, hydrozone mapping, and cycle-and-soak programming drive most of the real-world improvement. |
| Match install complexity to skill | Direct swaps are DIY-friendly; pump relays and buried sensors usually call for a professional. |
| Complex yards need coordination | Uniquecompanies integrates irrigation planning with pool, lighting, and electrical design on custom Phoenix-area projects. |
Where Can You Verify These Numbers Yourself?
- WaterSense WBIC specification mini-report, the certification criteria controllers must meet
What Homeowners Consistently Get Wrong About These Systems
Most advice on smart controllers focuses on which app has the nicest interface or which brand’s marketing sounds more advanced. That’s backwards. The data shows the real variable is whether someone actually sits down and enters correct soil type and application rate information, then sets up cycle-and-soak for problem zones. Skip that step, and even the most sophisticated controller behaves like an expensive timer.
The conventional wisdom oversells hardware and undersells configuration. A mid-range weather-based controller programmed correctly for its yard will usually outperform a premium model left on factory defaults. If you take one thing from this article, prioritize the setup work over the shopping research.
That said, homeowners with genuinely complex backyards, where irrigation, pool equipment, and lighting circuits all compete for the same trenches and panels, are the exception. At that scale, DIY installation risks conflicts that are expensive to unwind later, and a coordinated design-build approach earns its cost.
— Philipp
When Does a Design-Build Approach Make More Sense Than a DIY Install?
Uniquecompanies works best for homeowners whose backyard plans go beyond a simple controller swap, particularly when a pool, outdoor kitchen, or extensive lighting system will share electrical runs and trenches with the irrigation lines.
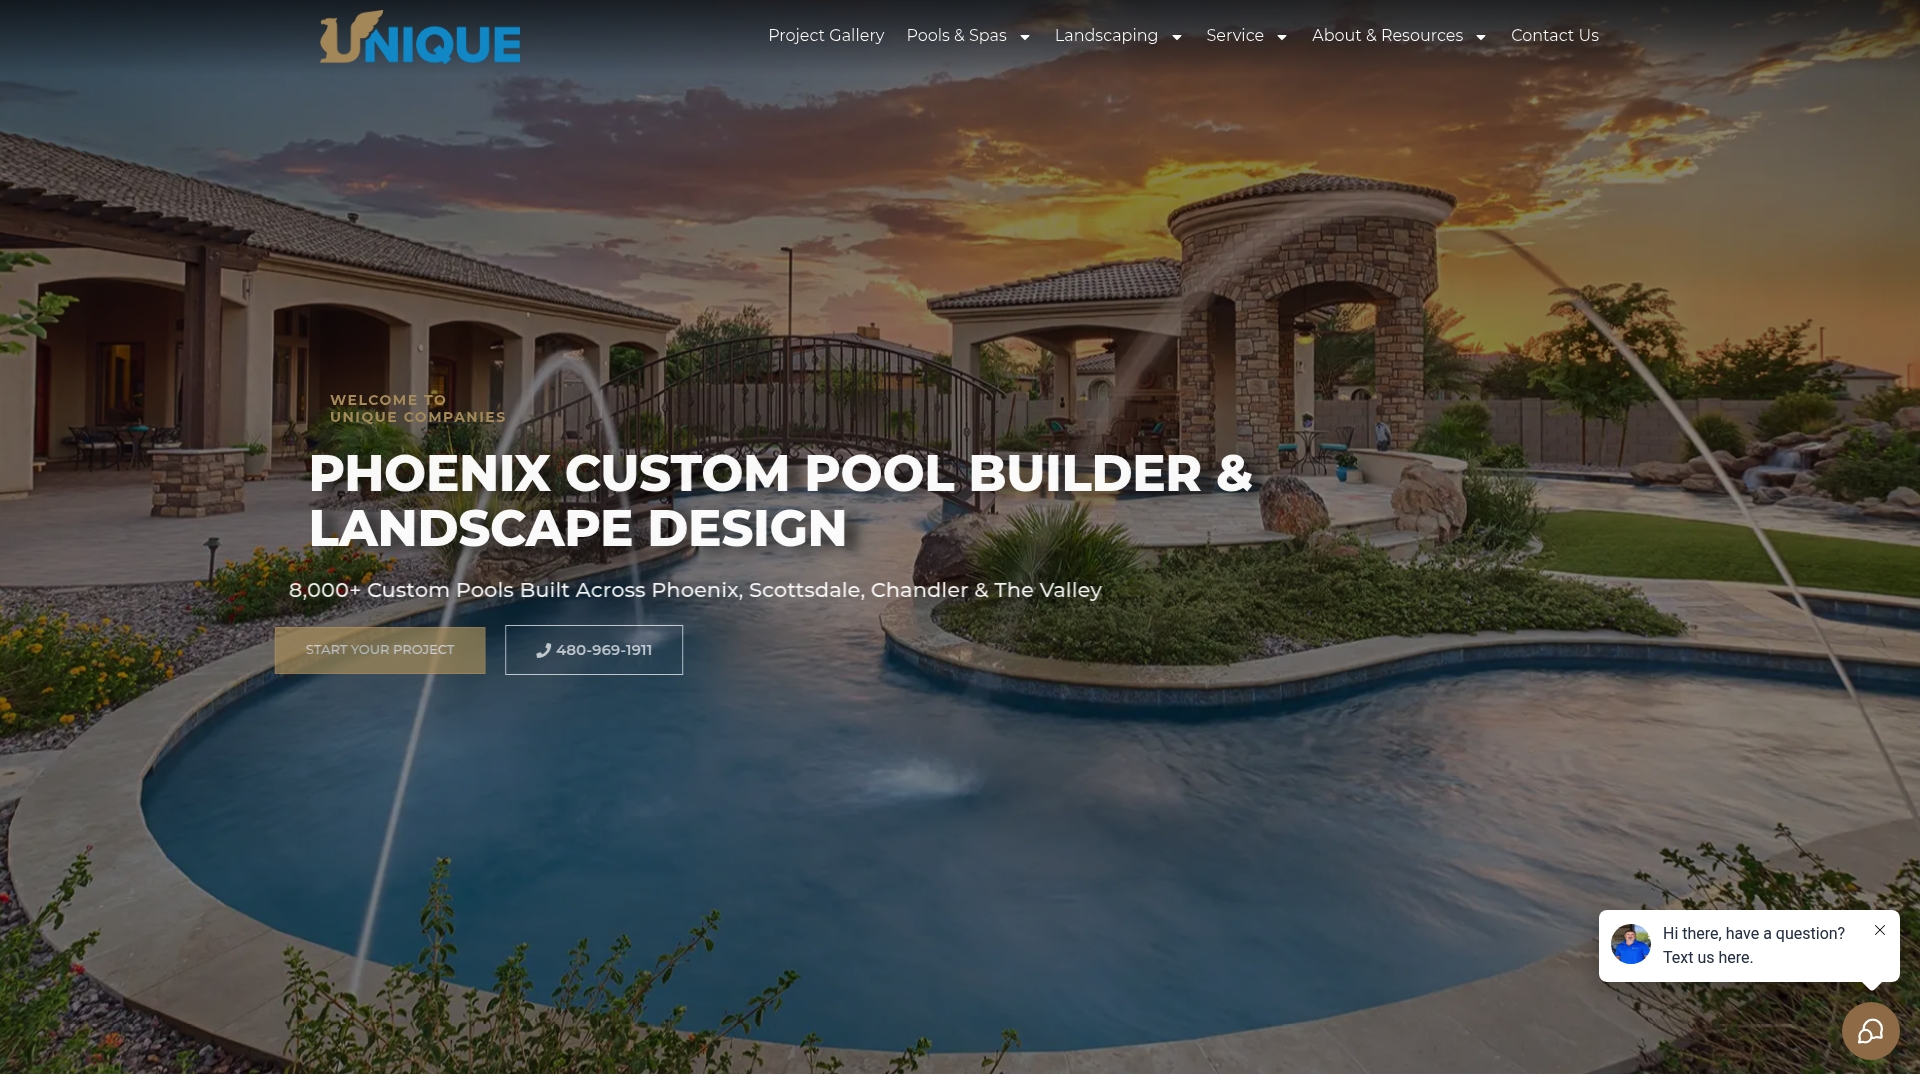
Rather than treating irrigation as a separate purchase to figure out after construction wraps up, Uniquecompanies builds it into the same permitting and design process used for custom pool features and pool automation systems. That means one team coordinating electrical, plumbing, and controller placement instead of three separate contractors guessing at each other’s work. In-house permitting and 3D visualization let you see exactly how sensor cables, valve zones, and equipment panels fit together before anything gets trenched. If your backyard project involves more than a straightforward timer replacement, request a consultation to walk through how irrigation fits into your overall design.