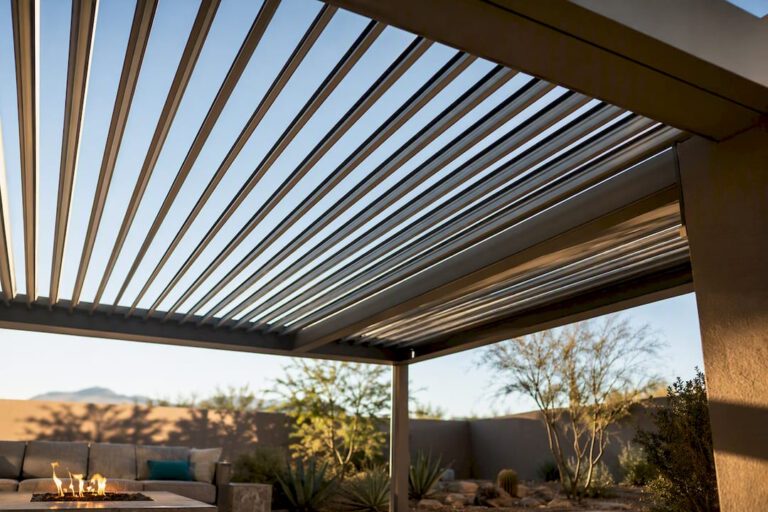
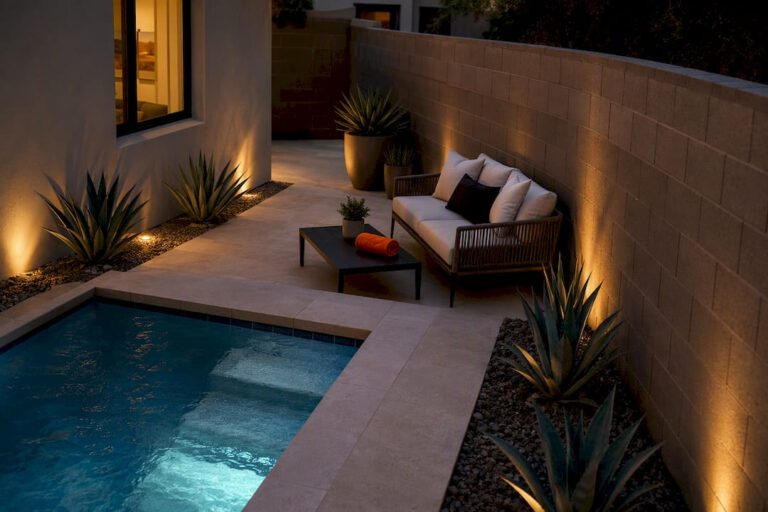
For most small patios, a straight run is the right starting point. Average backyards work best with an L-shape or a freestanding island. If you entertain large groups regularly, a U-shape with bar seating gives you the workflow and capacity to handle it. Your first action: take a tape measure outside, mark the footprint on the ground, and note where your gas stub-out, hose bib, and electrical panel are located.
Quick layout shortlist by yard size and use:
- Straight/linear run suitable for small patios and compact prep-only setups appropriate for few guests
- L-shape suitable for corner lots and mid-size yards, ideal for one primary cook with a helper and several guests
- Island or peninsula designed for social setups where guests gather around the cook, including pool-adjacent spaces
- U-shape suited for heavy entertainers and multi-cook households with ample space for guests and bar seating
- Galley/peninsula ideal for narrow side yards and covered patios with a wall on one side
Once you know which family fits your space, explore outdoor kitchen design ideas to start visualizing finishes and appliance placement.
Key Takeaways
The most effective outdoor kitchen layout anchors the grill as the primary zone, locks in utility routing before island construction, and reserves at least 42 inches of aisle clearance for safe, comfortable workflow.
| Point | Details |
|---|---|
| Match layout to yard size | Straight run for small patios, L-shape for mid-size corners, U-shape or island for large entertaining spaces. |
| Lock utilities before building | Finalize gas, electrical, water, and drainage routes in the design phase to avoid costly retrofits under finished hardscape. |
| Tape the layout first | Mark the footprint on the ground and walk it before construction to catch spacing and flow issues early. |
| Wait for appliances before cutting | Confirm physical unit dimensions on-site before cutting island openings; spec-sheet dimensions frequently differ from actual units. |
| Uniquecompanies for turnkey builds | Uniquecompanies handles design, permitting, utility coordination, and construction for Phoenix-area homeowners seeking a complete build. |
Table of Contents
- How should you plan an outdoor kitchen layout from scratch?
- Which outdoor kitchen layout type fits your space?
- How do you place appliances and map work zones?
- What materials hold up best in an outdoor kitchen?
- What are the most common outdoor kitchen layout mistakes?
- Which design tools and plans help you visualize a layout?
- How does a pro design-build firm handle an outdoor kitchen project?
- Why longevity should drive every layout decision you make
- Uniquecompanies builds custom outdoor kitchens across the Phoenix metro
- Sources
How should you plan an outdoor kitchen layout from scratch?
The correct sequence is: site survey first, then program definition, then layout selection, then utilities, then permits, then construction. Skipping ahead costs money.
Site survey
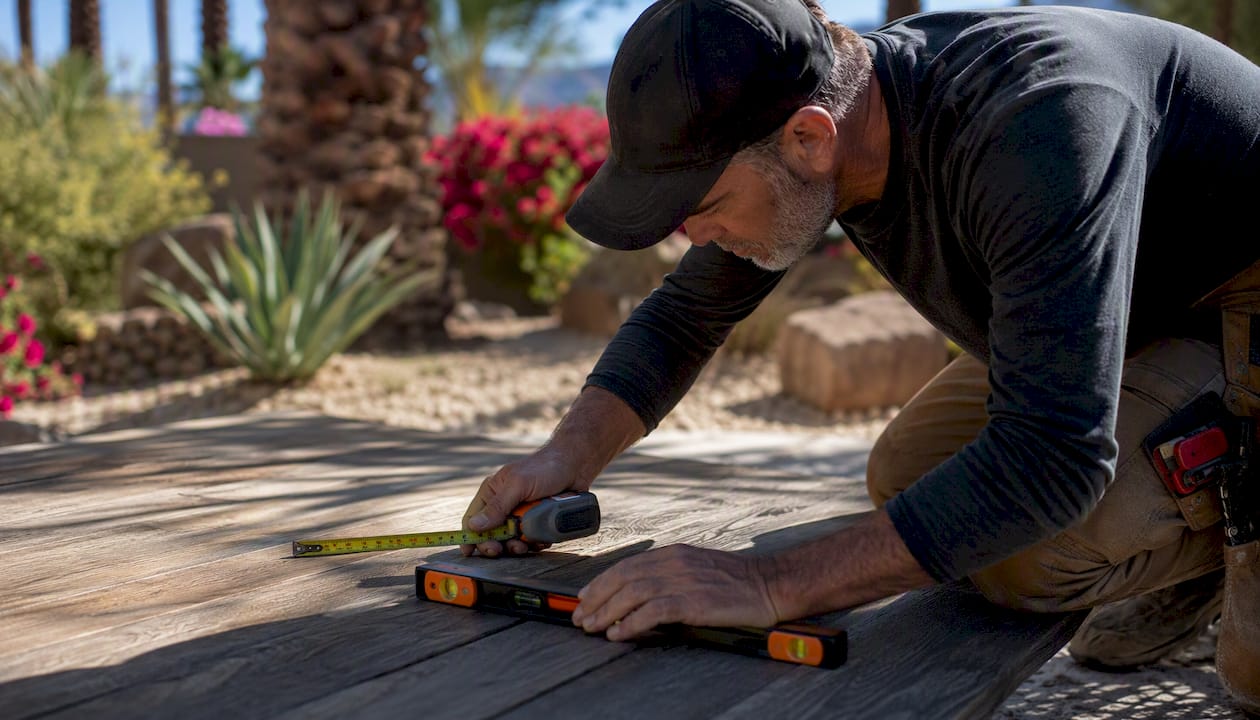
Measure the full footprint available, including any setback from the house, fence lines, and pool coping. Note every door and window that opens onto the space, the direction of prevailing wind (you want smoke blowing away from the house and seating), the sun path at your peak cooking hours, existing drainage slopes, and any views worth preserving or screening. These constraints narrow your layout options before you sketch a single line.
Program definition
Define who cooks, how many people you typically host, which appliances are non-negotiable, and how many months per year the kitchen will be in active use. Starting with the program and mapping four core zones (hot, cold, wet, and dry prep) is the approach professional designers use because it lets the layout follow function rather than aesthetics.
Utilities planning
Lock in gas, electrical, water, and drainage routing during the design phase, not after the island is framed. Retrofitting utilities under a finished patio is one of the most expensive and disruptive corrections a homeowner can face. Confirm GFCI-protected outdoor-rated outlets at each appliance station and plan a dedicated 20-amp circuit for the refrigerator. If you are adding a sink, drainage must slope away from the structure at a minimum 1/8" per foot.
Permits and timeline
Most municipalities require permits for gas lines, electrical work, and any permanent structure. A realistic project timeline from designer engagement to final commissioning runs roughly 10–14 weeks: design review (weeks 1–2), permit submittal and approval (weeks 3–5), rough-in utilities (week 6), island framing and masonry (weeks 7–9), appliance delivery and set (week 10), final commissioning and inspection (weeks 11–12).
Pro Tip: Before permit submittal, confirm your local jurisdiction’s setback requirements for outdoor cooking structures. In many Phoenix-area municipalities, gas appliances must maintain a minimum clearance from combustible fencing and overhangs.
Planning checklist: measure footprint → note utilities → define program → select layout → lock utility routes → submit permit → rough-in → build island → set appliances → commission
Which outdoor kitchen layout type fits your space?
For small sites, start with a straight run. For mid-size yards with a corner, an L-shape. For large entertaining patios, a U-shape or a freestanding island. Industry-standard clearances set work aisles at a minimum of 42" for one cook and 48" preferred for two, counter height at 36" for prep surfaces and 42" for bar seating, and stool spacing at 24" center-to-center.
Straight/linear run
Best for: small patios, compact prep-only setups, 2–4 guests
- Simplest utility routing; all gas, water, and electrical run along one wall
- Limited counter space; a 12-foot run gives roughly 4–5 feet of usable prep surface after appliances
- No enclosed work triangle; the cook has no corner to turn, which can feel exposed during service
- Ideal when budget is the primary constraint or the space is under 150 sq ft
L-shape
Best for: corner patios, mid-size yards, one primary cook, 4–8 guests
- Creates a natural work triangle between grill, sink, and prep zones
- The corner section handles storage or a refrigerator without interrupting workflow
- Requires careful corner-cabinet planning; a lazy-Susan or drawer pull-out prevents dead space
- Minimum footprint: approximately 12 ft on the long leg, 8 ft on the short leg
U-shape
Best for: large entertaining patios, multi-cook households, 8–12+ guests with bar seating
- Maximum counter and storage; the third leg typically becomes a bar or serving counter
- Requires the most space; the interior aisle needs at least 48" to avoid a bottleneck with two cooks
- Utility complexity is highest; gas, water, and electrical run to three separate legs
- Works well when integrated with a pergola or covered structure
Island or peninsula
Best for: social setups, pool-adjacent spaces, guests who gather around the cook
- A freestanding island allows seating on three sides; a peninsula connects to a wall or existing structure on one end
- Minimum island footprint: 10 ft × 5 ft to accommodate a grill, side burner, and 18" of landing space each side
- Requires utility runs under the slab or through a stem wall, which adds cost
- The peninsula variant reduces utility complexity by connecting to the house on one end
Galley
Best for: narrow covered patios, side yards, linear spaces with walls on both sides
- Two parallel runs maximize counter depth in a tight corridor
- The aisle between runs must be at least 48" to allow safe movement past an open grill lid
- Seating is typically at one end rather than along the sides
How do you place appliances and map work zones?
Anchor the layout around the grill first, then build outward. The grill is the highest-heat, highest-use appliance, and every other zone should relate to it in terms of distance and workflow. Keep cold zones (refrigerator, ice maker) separated from the grill by at least one section of landing counter to prevent heat transfer and compressor strain.
The four core zones and their placement logic:
- Hot zone (grill, side burner, pizza oven, smoker): position with the grill lid opening away from foot traffic; orient so prevailing wind carries smoke away from seating
- Cold zone (undercounter refrigerator, ice maker, beverage center): place at the end of a run or in the corner of an L-shape, away from direct sun and heat sources
- Wet zone (sink, dishwasher, drain): group together to minimize plumbing runs; the sink should sit between the prep zone and the grill for rinsing and hand-washing during cooking
- Dry prep/serve zone (prep counter, warming drawer, serving surface): position between the grill and the dining area so plated food travels the shortest distance to guests
Pro Tip: Wait until your appliances are physically on-site before cutting any openings in the island. Manufacturer cutout dimensions vary by model year, and a cutout made from a spec sheet alone can be off by 1/4" to 1/2", which is enough to require reframing.
A vent hood mounted above the cooking surface and sized wider and deeper than the grill is recommended whenever the grill is under a covered structure. An undersized hood recirculates smoke rather than exhausting it.
| Appliance | Fuel/Power | Typical Circuit | Water/Drain | Ventilation |
|---|---|---|---|---|
| Built-in grill (gas) | Natural gas or LP | None (igniter: GFCI) | None | Hood required under cover |
| Side burner | Natural gas or LP | None | None | Shared with grill hood |
| Pizza oven (gas) | Natural gas or LP | None | None | Dedicated vent or open air |
| Undercounter refrigerator | 120V, 15A dedicated | GFCI outdoor-rated | None | 1" clearance each side |
| Ice maker | 120V, 15A dedicated | GFCI outdoor-rated | Cold supply + drain | None |
| Sink | None | None | Hot/cold supply + drain | None |
| Warming drawer | 120V, 20A dedicated | GFCI outdoor-rated | None | None |
| Outdoor dishwasher | 120V, 20A dedicated | GFCI outdoor-rated | Hot supply + drain | None |
For outdoor kitchen accessories like storage drawers, paper towel holders, and trash pullouts, plan their locations during the design phase so door swings do not conflict with appliance clearances.
What materials hold up best in an outdoor kitchen?
Choose materials and finishes based on your climate and the maintenance schedule you will realistically keep. In Arizona’s high-UV, high-heat environment, materials that look good in a showroom can degrade quickly without the right specifications.
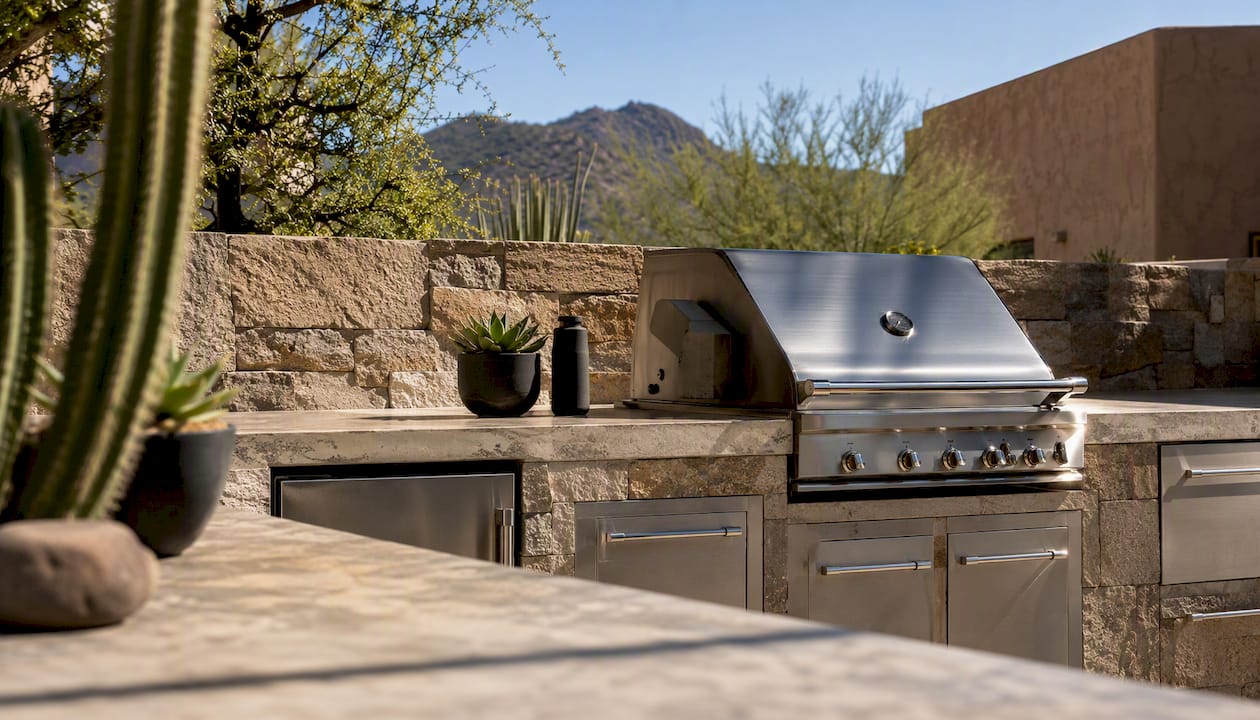
Designers in 2026 are prioritizing four-season functionality, specifying covered structures with integrated heating, fans, and weather-rated surfaces. Durable finishes, integrated lighting, and shade solutions are consistently requested by homeowners who want a kitchen that performs year-round, not just in mild weather.
| Material | Heat resistance | UV/sun resistance | Coastal/moisture | Maintenance |
|---|---|---|---|---|
| Stainless steel (304 grade) frame | Excellent | Good with brushed finish | Fair; prone to surface rust near salt air | Annual cleaning; avoid abrasive pads |
| Marine-grade polymer (HDPE) | Good | Excellent | Excellent | Low; wipe clean |
| Powder-coated aluminum frame | Good | Excellent | Good | Low; touch up chips promptly |
| Masonry (concrete block/CMU) | Excellent | Excellent | Good with sealer | Low; reseal every 2–3 years |
| Dekton countertop | Excellent | Excellent | Excellent | Very low; non-porous |
| Granite countertop | Excellent | Good | Good with annual seal | Reseal annually |
| Sealed concrete countertop | Good | Good | Fair | Reseal every 1–2 years |
Four-season strategies for Phoenix and similar climates:
- Install a pergola, pavilion, or solid-roof structure to extend usable hours and protect appliances from direct sun and monsoon rain
- Add ceiling fans rated for damp or wet locations to improve comfort during summer evenings
- Specify retractable screens or shade sails for west-facing exposures
- For winter use, infrared patio heaters mounted overhead provide efficient radiant warmth without wind loss
- Winterizing your outdoor kitchen includes draining water lines before freeze events, covering stainless surfaces, and shutting off gas at the stub-out when the kitchen will be idle for extended periods
What are the most common outdoor kitchen layout mistakes?
The five mistakes that generate the most homeowner regret are: underbudgeting for utilities and permits, not leaving enough counter and aisle space, cutting appliance openings before units arrive, omitting GFCI outlets and drainage, and inadequate ventilation under covered structures.
-
Underbudgeting for utilities and permits. Gas line extension, electrical sub-panel work, and permit fees routinely add $3,000–$8,000 to a project that was budgeted only for the island and appliances. Get utility bids before finalizing the budget. Common owner regrets consistently include surprise costs from electrical and plumbing work.
-
Insufficient counter and aisle space. A 36-inch grill with 12 inches of landing space on each side consumes 5 feet of run before any prep surface exists. Plan at least 24 inches of dedicated prep counter beyond appliance landings, and never compress the work aisle below 42 inches.
-
Cutting appliance openings before units arrive. Spec-sheet dimensions and actual unit dimensions differ. Wait until the appliance is on-site, measure the physical unit, and then cut. This single step prevents the most common structural rework.
-
Missing GFCI outlets and drainage. Every outdoor outlet must be GFCI-protected and rated for wet locations. Drainage is frequently omitted from sink planning; without a proper slope and drain connection, standing water under the island accelerates frame corrosion.
-
Weak ventilation under covered structures. A grill under a pergola or solid roof without an outdoor-rated vent hood creates a smoke and CO accumulation hazard. The hood must be sized wider and deeper than the grill and connected to a duct that exhausts outside the covered area.
Which design tools and plans help you visualize a layout?
Using a 3D design tool early in the process saves costly rework. A rough digital mockup takes 30–60 minutes and reveals clearance conflicts, seating gaps, and utility routing issues before any material is purchased.
Recommended tools and resources:
- Coyote Outdoor Living design tool: a browser-based configurator that lets you place Coyote appliances into a scaled island layout, verify cutout dimensions, and export a plan for your builder or permit application
- Belgard outdoor kitchen plans: downloadable templates and layout guides for masonry-based outdoor kitchens; particularly useful for homeowners planning a concrete block or paver-integrated island
- RCS Gas Grills layout guide: detailed clearance standards, zone placement rules, and counter-height specifications; use this as a technical reference when reviewing any plan
- Yale Appliance planning guide: step-by-step process from site survey through commissioning, with appliance selection guidance and a physical tape-out recommendation
How to use a 3D tool efficiently:
- Upload or sketch your site footprint to scale (include doors, windows, and utility stub-out locations)
- Place the grill first, then add cold and wet zone appliances
- Verify all aisle clearances (42" minimum) and appliance landing spaces (12–24" each side of the grill)
- Export the plan as a PDF with cutout dimensions, utility notes, and ventilation specs for your permit application or contractor
Downloadable plan checklist — request these files from your designer or tool:
- Scaled floor plan with all dimensions labeled
- Cutout sizes for every appliance (width × depth × height)
- Utility routing diagram (gas, electrical, water, drain)
- Ventilation/hood specification if under a covered structure
- Elevation drawings showing counter heights and bar seating
How does a pro design-build firm handle an outdoor kitchen project?
Professional projects lock utilities and venting before island construction begins. That sequencing prevents the most expensive fixes: a finished masonry island that needs to be partially demolished to reroute a gas line or add a drain.
Sample 10–12 week project timeline:
- Weeks 1–2: Site survey, program definition, and initial design review; owner selects appliances and finishes
- Weeks 3–5: Permit submittal; structural and utility drawings prepared by the firm
- Week 6: Rough-in utilities (gas, electrical, water, drainage) inspected and approved
- Weeks 7–9: Island framing, masonry, and countertop fabrication
- Week 10: Appliance delivery and set; cutouts confirmed against physical units
- Weeks 11–12: Final commissioning, inspection, and punch-list
What a pro firm typically handles versus owner responsibilities:
- Firm handles: engineering drawings, permit applications, trades coordination (plumber, electrician, gas fitter), island construction, appliance installation, final inspection
- Owner decides: appliance brand and model selection, countertop material and color, finish selections, seating and accessory choices
In the Phoenix metro area, outdoor kitchen permits fall under Maricopa County or individual city jurisdictions (Scottsdale, Chandler, Queen Creek, and others), each with specific setback rules for gas appliances and covered structures. A local Phoenix outdoor kitchen contractor familiar with those jurisdictions can navigate permit variability that a national design tool cannot anticipate. The permit process alone can add 2–4 weeks to a project timeline if submissions are incomplete, which is why having a firm that handles permitting in-house matters.
Why longevity should drive every layout decision you make
Beautiful outdoor kitchens that go unused within two years share a common trait: the layout was designed for photographs, not for how the homeowner actually cooks. A statement pizza oven positioned as the visual centerpiece sounds compelling until it sits unused because the prep surface is 12 feet away and the sink is on the opposite end of the island.
The layouts that get used every week tend to share a few characteristics. Prep surfaces are generous and positioned within arm’s reach of the grill. Circulation is clear enough that a guest can refill a drink without walking through the cook’s workspace. The appliance count is modest, with each unit chosen because it matches a specific cooking habit rather than because it looked good in a showroom.
Four-season planning is the other factor that separates durable, well-used kitchens from seasonal ones. A covered structure with a ceiling fan and a patio heater extends usable hours in both summer evenings and winter months. In Arizona, that means a kitchen that works from 5 PM to 10 PM even in July, not just in October. The investment in shade and ventilation pays back in actual use, which is the only metric that matters.
If you are choosing between one more appliance and a better-quality countertop or a larger prep surface, take the prep surface. The cook who has room to work will use the kitchen far more than the cook who has an impressive appliance list but no elbow room.
Uniquecompanies builds custom outdoor kitchens across the Phoenix metro
Uniquecompanies offers a fully turnkey custom outdoor kitchen design-build service for homeowners in Phoenix, Scottsdale, Chandler, Queen Creek, and surrounding areas. The process covers everything covered in this guide: in-house design with 3D visualization, permit applications, utility coordination, island construction, appliance installation, and final commissioning.
With over 24 years of experience building outdoor living environments in Arizona’s climate, the team understands the specific demands of high-UV exposure, monsoon seasons, and the extended outdoor cooking calendar that Phoenix homeowners enjoy. Every project is handled by an in-house team rather than subcontracted, which keeps the timeline predictable and the quality consistent. If you are ready to move from a sketch to a permitted, built kitchen, request a design consultation to get started.
Sources
- The Ultimate Outdoor Kitchen Layout Guide | RCS Gas Grills
- Outdoor Kitchen Planning Guide – Outdoor Kitchen Appliance
- 12 Steps to Designing Your Outdoor Kitchen in 2026: What to Buy, What to Skip, and What Actually Matters | Yale Appliance blog
- 10 Outdoor Kitchen Mistakes to Avoid | BBQGuys
- Outdoor kitchen trends in 2026 | ELLE Decor
- 8 Outdoor Kitchen Trends You’ll See Everywhere in 2026 | Homes and Gardens