TL;DR:
- Creating 3D outdoor designs involves building realistic digital models of yards or gardens before construction begins. This process requires accurate site data, the right software, and a structured workflow to produce reliable plans. Proper zoning, asset libraries, and realistic lighting help create detailed and accurate visualizations that reduce costly construction mistakes.
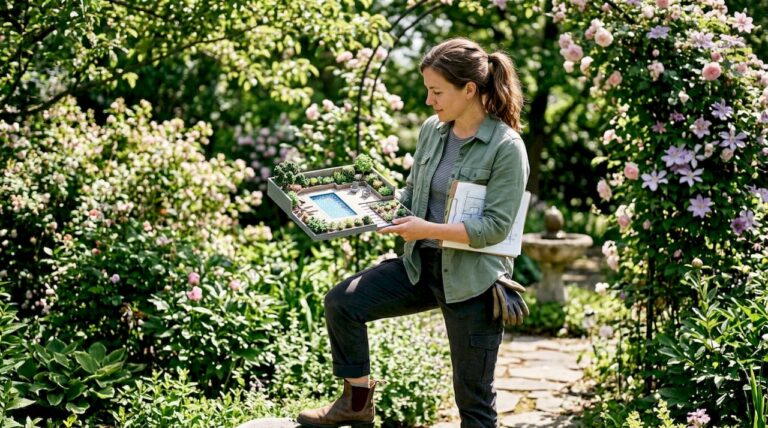
Creating 3D outdoor designs means building a photorealistic digital model of your yard, patio, or garden before a single shovel breaks ground. This process, formally called 3D landscape visualization, gives homeowners and designers a true-to-scale preview of every element, from pool placement to planting beds. It replaces flat 2D blueprints with a walkable, adjustable virtual environment. Knowing how to create 3D outdoor designs correctly requires the right software, accurate site data, and a structured workflow. This guide covers each step in practical terms so you can plan smarter and build with confidence.
What tools do you need to create 3D outdoor designs?
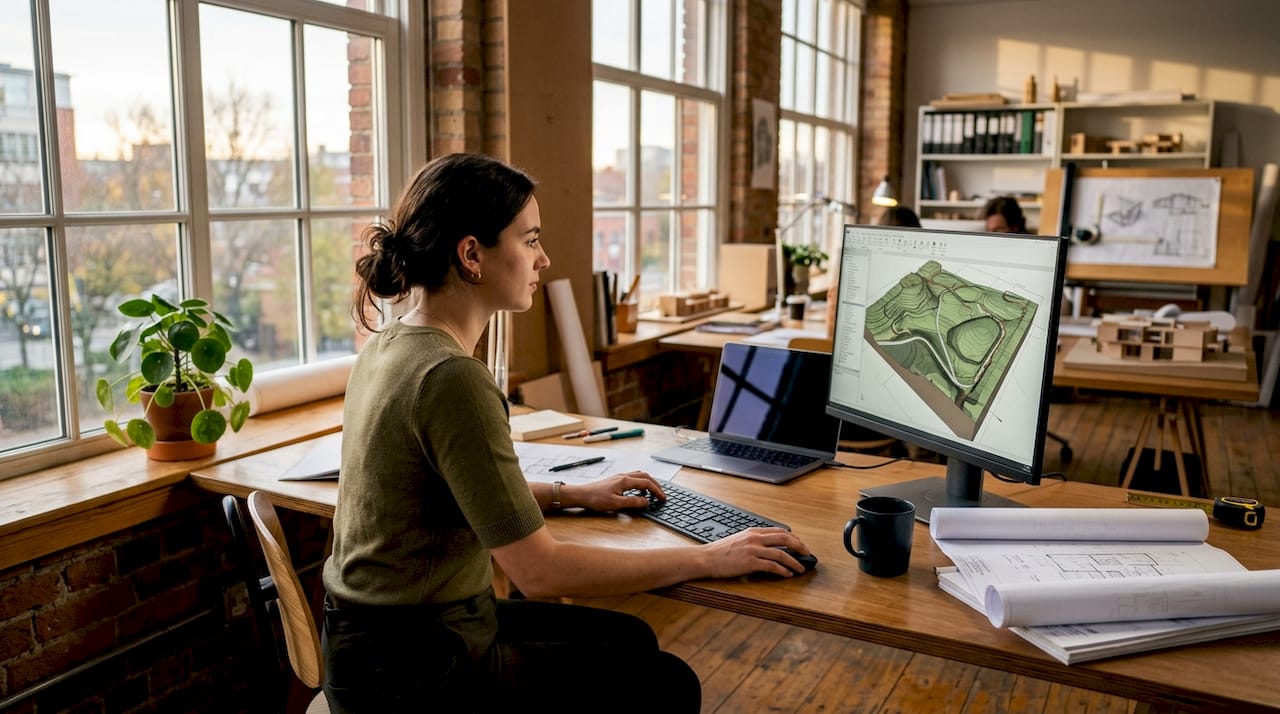
The right outdoor design software determines how fast and how accurately you can build your model. Software options fall into three broad categories: entry-level consumer apps with drag-and-drop interfaces, mid-range professional tools with plant libraries and grading features, and enterprise platforms with real-time rendering engines and BIM integration. Your skill level and project complexity should drive which category you choose.
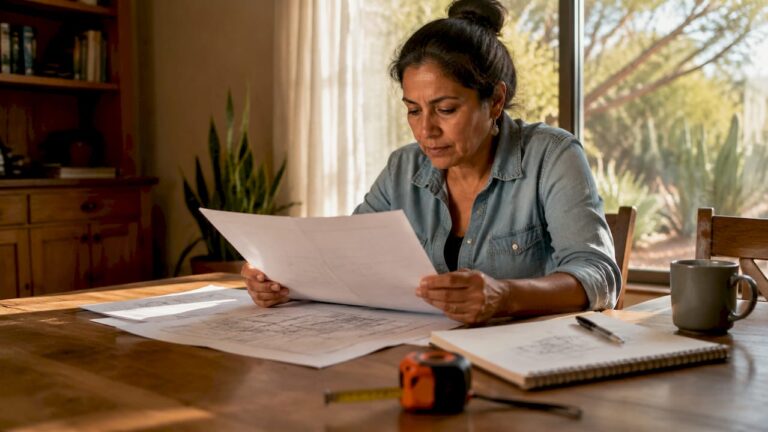
Before opening any program, you need accurate site data. Precise site measurements of grades, drainage patterns, and existing structures are the foundation of any reliable 3D model. Errors at this stage cause scaling problems that invalidate the entire design. Measure your yard’s dimensions, note elevation changes, mark utility lines, and photograph existing features from multiple angles.
Hardware matters more than most homeowners expect. Real-time rendering engines demand a dedicated GPU with at least 8GB of VRAM for smooth performance. A mid-range workstation or a recent laptop with a discrete graphics card handles most residential projects without lag.
Pro Tip: Before modeling, sketch a rough zone map on paper. Knowing where your cooking area, seating zone, and planting beds will go makes the digital build far faster.
Key prerequisites at a glance:
- Site survey data: dimensions, grades, drainage, utility locations
- Software category: match complexity to your skill level
- Hardware: dedicated GPU, 16GB RAM minimum for professional tools
- Asset libraries: manufacturer-provided 3D models for plants, furniture, and materials
- Reference photos: existing structures, neighboring fences, overhead views
Using pre-built asset libraries and manufacturer 3D models speeds up the design process and keeps material specifications accurate. Building every element from scratch wastes time and introduces proportion errors. Most professional platforms include thousands of plants, pavers, and outdoor furniture pieces ready to place.
How do you build a 3D outdoor design step by step?
A structured workflow produces better results than jumping straight into styling. Functional zoning before detailing prevents overcrowding and creates spaces that actually work in real life. The sequence below applies whether you are designing a simple patio or a full backyard with a pool, kitchen, and landscaping.
Step 1: Build the base model
Import your site measurements into your chosen software and create the ground plane. Set the correct scale, mark property boundaries, and model any existing structures such as the house footprint, fences, and retaining walls. This base model is your reference for everything that follows.
Step 2: Map functional zones
Define distinct areas before adding any detail. Typical residential zones include:
- Cooking and dining: outdoor kitchen, grill station, dining table area
- Relaxation: pool, spa, lounge seating
- Circulation: pathways, steps, transitions between zones
- Planting: beds, lawn areas, tree placements
- Utility: storage, mechanical equipment, service access
Locking in these zones early prevents the most common design mistake: adding features until the space feels cluttered and unusable.
Step 3: Add structural elements
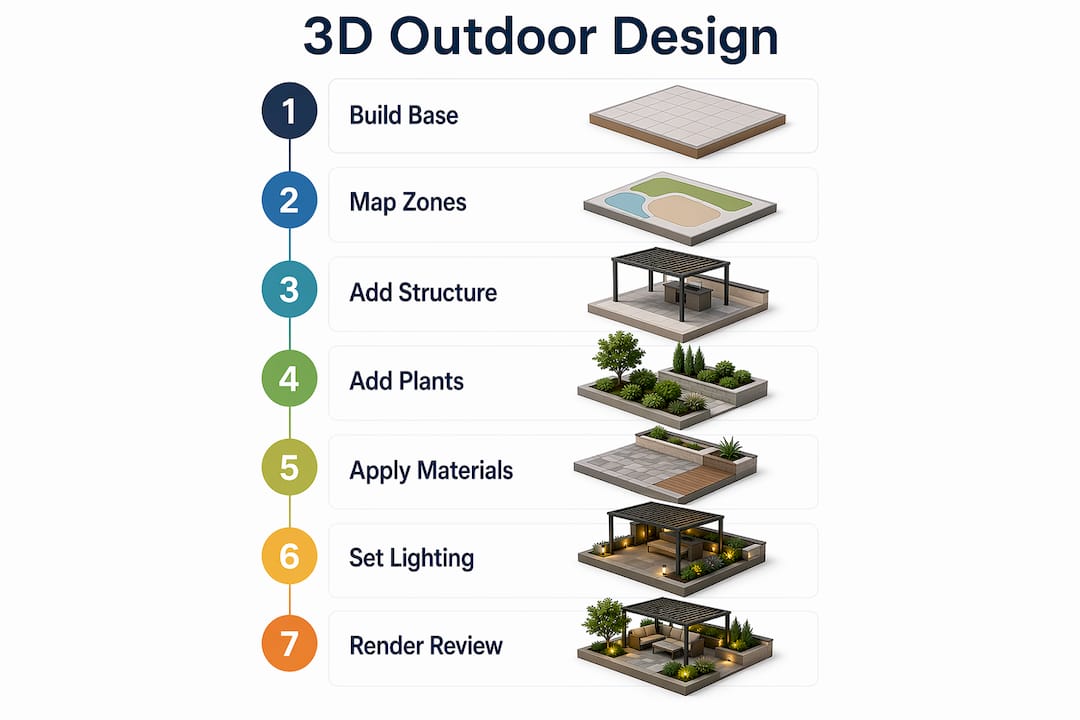
Place hardscape features next. Decks, patios, retaining walls, pergolas, and pool and spa structures all go in at this stage. Use your asset library for standard components and adjust dimensions to match your site. Pay attention to clearances between structures, particularly around pool decks and outdoor kitchen counters.
Step 4: Populate with plants and furnishings
Drop in plants from your software’s library, choosing species appropriate for your climate. In Phoenix and the surrounding area, drought-tolerant species like agave, desert willow, and palo verde perform well and look accurate in renderings. Add outdoor furniture, lighting fixtures, and decorative elements. Keep each zone visually distinct to maintain clarity in the final render.
Step 5: Apply materials and textures
Select surface materials for every element: pavers, decking, countertops, pool finishes, and planting bed borders. Use manufacturer-provided textures where available. They reflect real-world color and finish more accurately than generic software defaults.
Step 6: Set lighting and camera angles
Simulating natural lighting at mid-morning or late afternoon produces the most realistic renders. Overhead noon sun flattens textures and washes out color, making materials harder to evaluate. Set your sun angle to match the time of day your client or family uses the space most. Then position camera angles at eye level to simulate the actual experience of standing in the yard.
Pro Tip: Save multiple camera angles before rendering. A view from the kitchen door, a view from the pool, and an aerial overview each communicate different aspects of the design.
Step 7: Render and review
Run the final render. Professionals using real-time rendering engines can produce high-quality photorealistic outputs in as little as 30 minutes. That speed matters when clients want to see multiple material options in a single meeting. Save your project file alongside the rendered images so revisions stay tied to the original model.
What are the most common mistakes in 3D outdoor design?
Most errors in 3D landscape design trace back to one of three sources: bad site data, poor lighting choices, or skipping the zoning step. Catching these early saves significant revision time.
“The greatest value of 3D landscape design is fewer surprises and less unexpected expense during actual construction.” — Elegant Landscape Inc
3D design prevents costly construction changes by letting you adjust layouts, materials, and dimensions digitally before any work begins. A pool that looks proportional on paper can feel overwhelming in a small yard. A 3D model reveals that immediately.
Common pitfalls and how to avoid them:
- Inaccurate measurements: Re-measure grades and drainage before modeling. One inch of grade error can misrepresent drainage flow across the entire yard.
- Skipping functional zones: Designing without zones first leads to features that compete for space. Define zones on paper before opening the software.
- Flat lighting: Noon sun settings make every surface look the same. Use mid-morning or late afternoon sun angles for accurate texture and shadow evaluation.
- Manual modeling of standard parts: Building a patio chair from scratch when your software library has 200 options wastes hours. Use the library.
- No iterative review: Render early and often. Waiting until the design is complete to render means discovering proportion errors too late to fix quickly.
A structured approach to planning your landscape before detailing consistently produces cleaner, more buildable designs.
How do you make 3D outdoor renderings look realistic?
Realism in a 3D rendering comes from composition, lighting, and detail balance. The three-plane framing technique structures a render into foreground, midground, and background to create depth and guide the viewer’s eye. Place a planting bed or low wall in the foreground, the main feature (pool, kitchen, pergola) in the midground, and the home or fence line in the background. This structure makes even a simple yard look considered and spacious.
Leading lines reinforce composition. A pathway that draws the eye from the camera toward the main feature creates movement and focus in a still image. Curved paths feel more natural in residential settings than straight lines, particularly in organic garden layouts.
3D and AR visualization can increase client engagement with design options significantly compared to traditional 2D plans. Clients who can see a photorealistic render of their future yard make faster decisions and request fewer mid-construction changes. That translates directly to smoother project execution.
Additional techniques for stronger presentations:
- Add lifestyle context: Place a dining table set for four, a lounge chair by the pool, or a grill with accessories. These details help clients picture real use.
- Show seasonal variation: Render the same design in summer and winter light to demonstrate year-round appeal.
- Limit detail density: A render with too many plants, accessories, and textures competing for attention confuses the viewer. Edit for clarity.
- Use depth of field: Slight blur in the foreground or background focuses attention on the primary feature.
For inspiration on how luxury outdoor spaces translate from 3D render to finished construction, reviewing completed project portfolios gives both homeowners and designers a reliable reference point.
Key Takeaways
A complete 3D outdoor design requires accurate site data, structured zoning, the right software, and realistic lighting to produce a model that prevents costly construction errors.
| Point | Details |
|---|---|
| Start with site data | Measure grades, drainage, and existing structures before opening any software. |
| Zone before you detail | Define cooking, dining, relaxation, and planting areas first to prevent overcrowding. |
| Use asset libraries | Pre-built manufacturer models save time and keep material specifications accurate. |
| Set lighting correctly | Mid-morning or late afternoon sun angles reveal textures and colors more accurately than noon settings. |
| Render early and often | Iterative renders catch proportion and layout errors before they become construction problems. |
Why the zoning step is the one most designers skip
After working through many outdoor design projects, the single most consistent mistake I see is jumping straight to styling. A homeowner opens the software, drops in a pool, adds a pergola, places some plants, and then wonders why the space feels crowded and disconnected. The zoning step feels administrative, so it gets skipped. That decision costs hours of revision later.
The most critical factor in any landscape project is not the materials you choose or the software you use. It is the clarity of your spatial plan before any detail work begins. I have seen beautifully rendered designs that were completely unbuildable because the designer never checked whether a 12-foot pergola would clear the roofline or whether the outdoor kitchen had enough clearance from the pool equipment pad.
My honest advice: spend 20% of your total design time on site analysis and zone mapping. The remaining 80% on modeling, texturing, and rendering will go faster and produce a result you can actually hand to a contractor. Software is a tool. Spatial thinking is the skill.
If you are choosing software for the first time, match the tool to your current skill level, not your aspirations. An entry-level app that you use confidently produces better results than a professional platform you are still learning while a client waits. Grow into more complex tools as your workflow matures.
— Philipp
Uniquecompanies brings 3D design to life in Phoenix
Seeing a 3D render of your future backyard is one thing. Having a team that can build it exactly as designed is another.
Uniquecompanies has spent over 24 years designing and building custom pools and outdoor kitchens for homeowners across Scottsdale, Chandler, Queen Creek, and the greater Phoenix area. Every project starts with a detailed 3D visualization so you see the finished space before construction begins. The in-house team handles design, permitting, and build under one roof, which means the model you approve is the yard you receive. If you are ready to move from concept to construction, explore Uniquecompanies’ luxury outdoor living portfolio to see what a fully realized 3D design looks like when it is built.
FAQ
What is 3D landscape design?
3D landscape design is the process of creating a photorealistic digital model of an outdoor space before construction begins. It lets homeowners and designers evaluate layouts, materials, and plant selections at true scale.
How long does a 3D outdoor design take to complete?
Standard professional designs typically take 1–2 weeks to complete. Complex multi-zone projects with pools, kitchens, and detailed planting plans take longer.
What software do professionals use for 3D outdoor design?
Professionals use a range of outdoor design software, from mid-range tools with plant libraries to enterprise platforms with real-time rendering engines. The right choice depends on project complexity and the designer’s experience level.
Why is site measurement so important in 3D design?
Accurate site data prevents scaling errors that make a finished model unusable. Grades, drainage patterns, and existing structure locations must all be measured before modeling begins.
Can 3D design reduce construction costs?
Yes. Adjusting layouts and materials digitally before construction is far less expensive than making changes on-site. 3D design catches proportion errors, clearance conflicts, and material mismatches before they become costly field corrections.