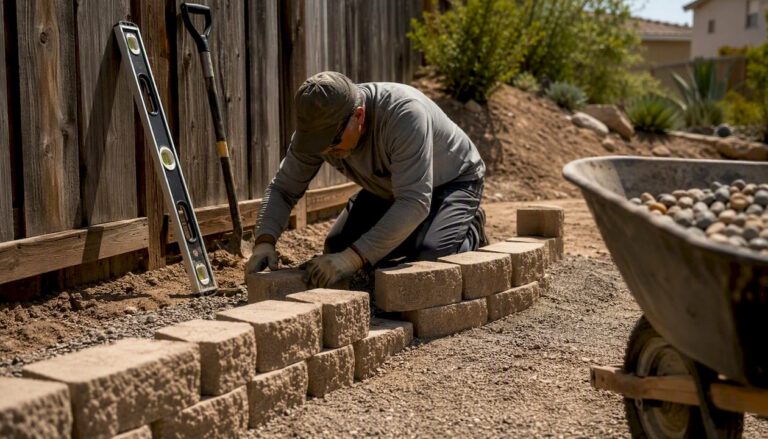
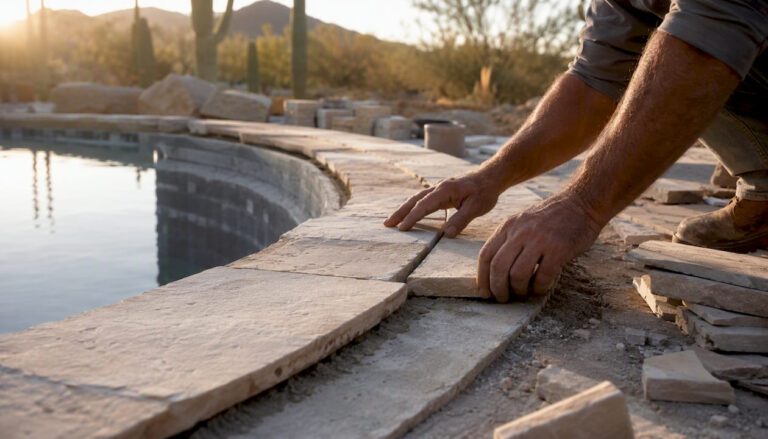
For most backyards, the right retaining-wall choice comes down to three scenarios: timber or gabion for low garden beds (under 3 ft), segmental interlocking block for mid-height terraces (3–4 ft), and engineered poured concrete or reinforced CMU for structural slopes, driveway surcharges, or anything taller. Before you order a single block or post, run through this quick checklist:
- Measure total height from the bottom of the planned footing to the top of the wall, not just the exposed face.
- Check for surcharges: a driveway, structure, or steep slope above the wall changes the engineering requirements regardless of height.
- Confirm your local permit trigger: most U.S. jurisdictions set it at 4 feet, but some set it at 3 feet. Call your building department before you dig.
- Sort drainage needs: identify whether water drains toward the wall and plan for perforated pipe and drainage stone behind every course.
Next step: if your wall is under the local permit trigger, the site is stable, and there are no surcharges, a DIY segmental-block, timber, or gabion build is realistic. If any of those conditions fail, hire a licensed engineer and a contractor before you start.
Key Takeaways
Proper drainage and a compacted aggregate base determine whether any retaining wall lasts, regardless of material, height, or budget.
| Point | Details |
|---|---|
| Measure total height first | Height from footing bottom to wall top triggers permit and engineering requirements, typically at 4 feet in most U.S. jurisdictions. |
| Match material to use case | Timber and gabion suit low garden beds; segmental block handles residential terracing; poured concrete and CMU serve structural slopes. |
| Drainage is non-negotiable | Drainage stone, perforated pipe, and filter fabric behind every wall prevent the hydrostatic pressure that causes most long-term failures. |
| Terracing beats a single tall wall | Two 3-foot walls often cost less, avoid engineering triggers, and create more usable outdoor space than one 6-foot wall. |
| Uniquecompanies for integrated builds | For walls tied to pools, patios, or graded slopes in the Phoenix metro area, Uniquecompanies manages design, permitting, and construction as one scope. |
Table of Contents
- What materials work best for backyard retaining walls?
- How does a retaining wall actually hold soil?
- When do you need a permit or a licensed engineer?
- Which retaining walls are realistic DIY projects?
- How to build a segmental block retaining wall: step-by-step
- How much do backyard retaining walls cost in 2026?
- How long do retaining walls last, and what maintenance do they need?
- Design and finish ideas that make retaining walls work harder
- When does a design-build contractor make sense for your retaining wall?
- A practical take on retaining walls most guides skip
- Uniquecompanies handles the walls your backyard actually needs
- Sources
What materials work best for backyard retaining walls?
The six materials used in residential retaining walls each occupy a distinct niche. Choosing the wrong one for your slope, budget, or DIY skill level is one of the most common and costly mistakes homeowners make.
Timber is the cheapest entry point and straightforward to cut and stack, but landscape timbers rarely perform well above 4 feet and typically last 15–25 years before rot or insect damage requires replacement. Best for low garden beds and informal terracing where aesthetics are secondary.
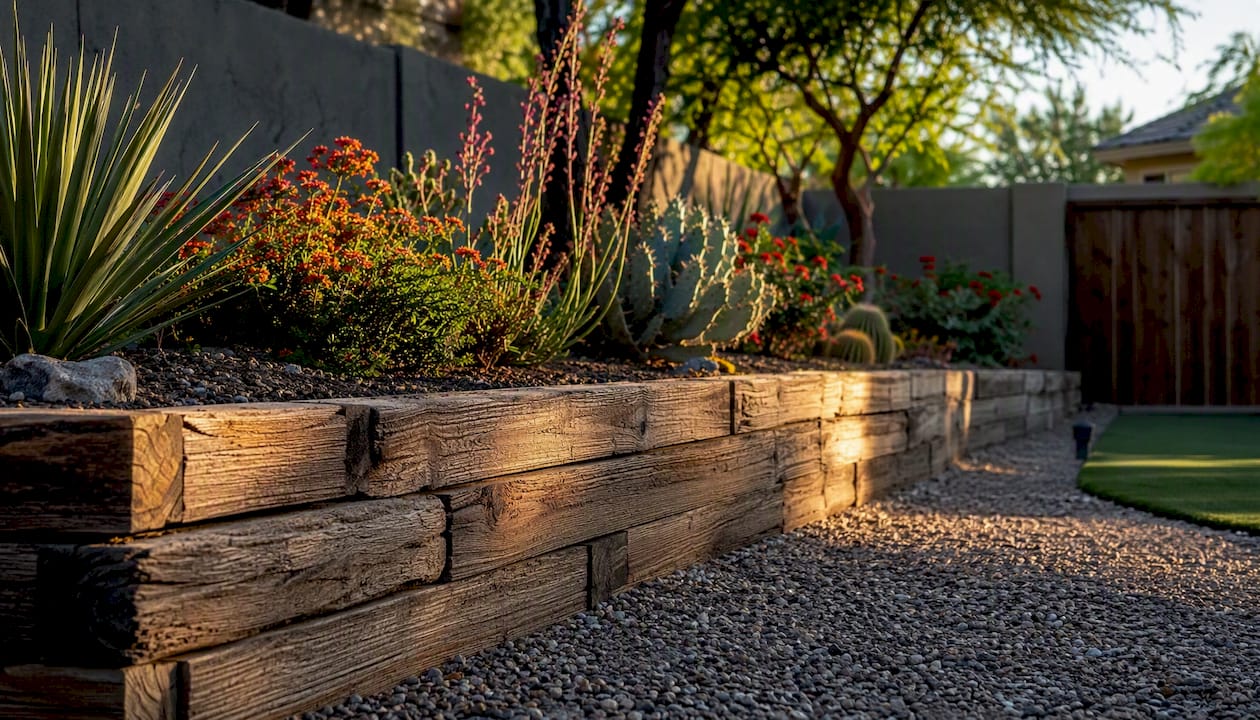
Gabion (wire-mesh baskets filled with stone) drains naturally through the fill, which eliminates most hydrostatic pressure concerns. The open structure is forgiving on uneven ground and suits a naturalistic or industrial aesthetic. DIY assembly is manageable for walls under 3–4 ft, though sourcing and moving fill stone is physically demanding.
Segmental interlocking block (SRW) is the most popular choice for residential terracing. Systems from manufacturers like Belgard and Techo-Bloc are engineered for consistent batter, interlocking pins or lips, and geogrid compatibility. SRW units run about $15–$35 per square foot installed and are the most DIY-friendly block option on the market.
CMU (concrete masonry unit) / mortared block is stronger than dry-stack SRW and handles taller walls, but it requires mortar work, rebar, and typically a footing inspection. Not a realistic first-time DIY project.
Poured concrete offers the highest strength and the cleanest modern finish. It also demands formwork, rebar placement, and a concrete pour, which means specialized equipment and professional labor in almost every residential case.
Natural stone (dry-stack or mortared) suits rustic and traditional aesthetics and can last generations when properly built. Cost varies widely depending on stone availability, but labor intensity is high regardless.
Cost context: Installed residential retaining walls typically run $20–$100+ per square foot depending on material and height, with height acting as the single largest cost multiplier across every material category.
Belgard and Techo-Bloc both offer SRW systems with detailed installation guides, geogrid specifications, and a range of face textures that suit everything from a contemporary pool terrace to a traditional garden border. Their block families are widely stocked at regional masonry suppliers and big-box stores, which makes mid-project restocking practical for DIY builds.
How does a retaining wall actually hold soil?
A retaining wall must control three things simultaneously: lateral soil pressure pushing against the face, water pressure building behind the wall, and the stability of the foundation beneath it. Get any one of those wrong and the wall will eventually lean, crack, or overturn, regardless of how good the face looks.
Footings and embedment are the foundation of long-term performance. The first course of block or the base of a timber wall must be buried below grade, typically 6–12 inches for segmental block, and deeper in freeze-thaw climates where frost heave can lift an unburied base. In regions with significant frost depth, the footing must extend below the frost line or the wall will move seasonally.
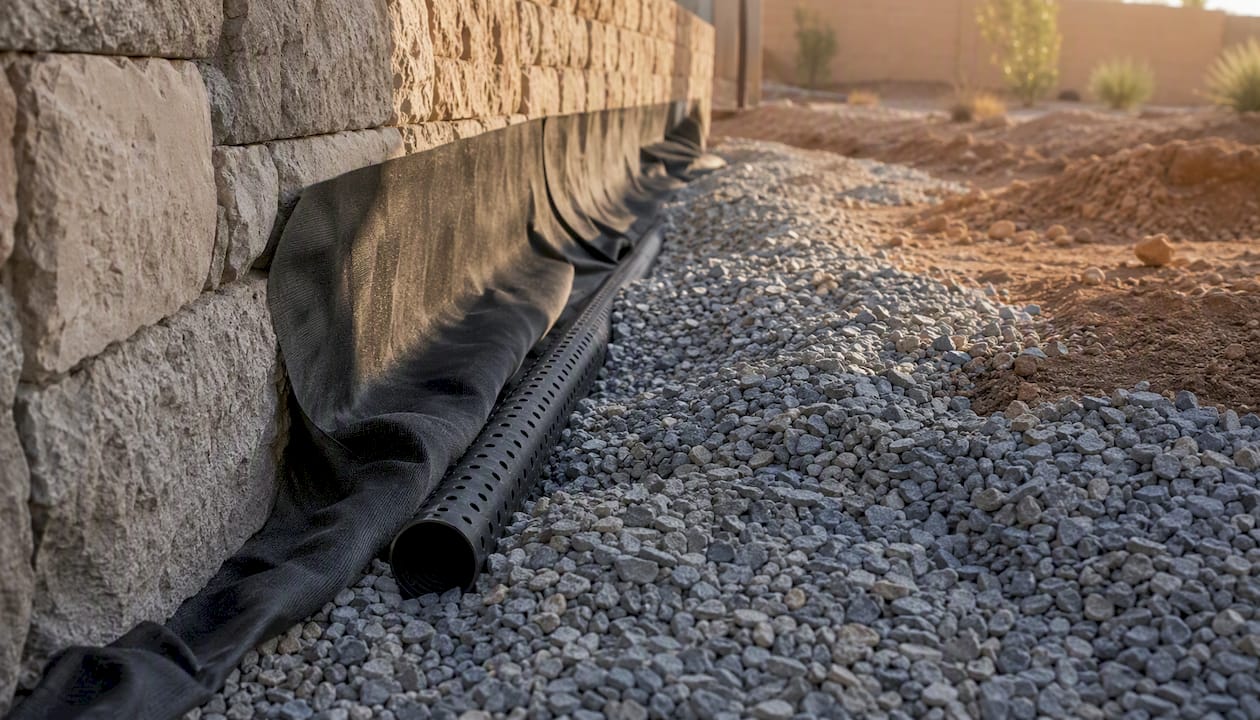
Drainage is where most DIY walls fail. Drainage failures, not material decay, are the most common cause of long-term retaining-wall failure. Water trapped behind a wall builds hydrostatic pressure that the wall was never designed to resist. The solution is a chimney drain or blanket drain: a layer of clean drainage stone (typically ¾-inch crushed gravel) placed directly behind the wall face, a perforated pipe at the base to carry water away, and filter fabric between the drainage stone and native soil to prevent fines migration. Weep holes through the wall face provide a secondary relief path.
Backfill behind the drainage stone should be granular, not clay. Clay retains water, expands when wet, and exerts far more lateral pressure than granular fill. If your native soil is clay-heavy, plan to import granular backfill for the zone immediately behind the wall.
Geogrid is a tensile reinforcement layer embedded horizontally into the backfill at intervals specified by the wall manufacturer. It extends the effective base of the wall back into the slope, dramatically increasing resistance to overturning. Most SRW manufacturers require geogrid for walls above 3–4 feet, and engineering standards for retaining walls reference IBC, ASCE load combinations, NCMA for segmental systems, and ACI 318 for reinforced concrete when specifying geogrid placement and backfill compaction requirements.
Pro Tip: After setting your compacted aggregate base, use a 4-foot level across the full width of the base course before laying a single block. A base that is off by even ½ inch will compound with every course above it. Correct it at the base, not halfway up the wall.
When do you need a permit or a licensed engineer?
The answer is straightforward for most U.S. homeowners: most jurisdictions require a building permit and an engineered, stamped design for any retaining wall over 4 feet tall, measured from the bottom of the footing to the top of the wall. Some local codes set the trigger at 3 feet. Local rules always take precedence over model code defaults, so your first call should be to your local building department, not a contractor.
Height is not the only trigger. Surcharges, meaning a driveway, structure, or significant slope above the wall, can require engineering even for walls under 4 feet. Proximity to a property line, a public right-of-way, or an existing structure also affects permit conditions. Municipal permit manuals commonly require site plans showing wall location, a final inspection, and photographic evidence of tie-backs or anchoring for walls that require engineering.
Steps to check your permit requirements:
- Measure from the planned footing bottom to the top of the finished wall, not just the exposed face above grade.
- Identify any surcharges: note driveways, structures, or slopes within 10 feet above the wall.
- Call or visit your local building department and ask specifically about retaining walls, the height threshold, and whether surcharges or setbacks apply.
- Ask about required submittals: most departments want a site plan, an engineered drawing (if triggered), and a permit application before any excavation.
- Confirm inspection milestones: many jurisdictions require a footing inspection before backfill and a final inspection after completion.
Code threshold note: IBC Section 1807 and IRC Appendix R govern retaining-wall design at the model-code level, but local amendments routinely lower the engineering trigger to 3 feet or add surcharge-specific requirements. Never assume the model code applies to your jurisdiction without confirming with your building department.
Which retaining walls are realistic DIY projects?
Short timber, gabion, and segmental block walls under approximately 3–4 feet on stable ground are realistic DIY builds. Beyond that threshold, the combination of deeper footings, geogrid placement, formwork, or rebar makes professional involvement the more reliable path.
Red flags that push a project toward professional installation:
- Groundwater or seasonal seepage at the site
- Clay-heavy native soils with poor drainage
- Long runs (over 50 feet) where differential settlement becomes a factor
- High surcharge loads from a driveway or structure above
- Proximity to a property line or public right-of-way
- Any wall that requires an engineered, stamped design per local code
What a contractor brings that most homeowners cannot replicate: a plate compactor for base preparation, a mini-excavator for site prep on larger runs, access to bulk drainage stone and geogrid at contractor pricing, and the experience to read soil conditions and adjust footing depth on the fly. For poured concrete or reinforced CMU walls, add formwork, rebar bending, and concrete placement to that list. Poured concrete and mortared CMU typically require professional formwork, rebar, and engineered details that go well beyond standard DIY capability.
How to build a segmental block retaining wall: step-by-step
This sequence applies to a standard segmental-block, timber, or gabion wall under 4 feet on stable, well-drained ground. For walls approaching the permit trigger or with any of the red flags above, confirm with your building department before starting. Lowe’s step-through block wall guide is a useful companion reference for first-time builders.
Step-by-step build sequence:
- Mark the layout. Use stakes and string line to define the wall face. Account for batter (the slight backward lean built into most SRW systems, typically 1 inch per foot of height).
- Excavate the base trench. Dig 6–12 inches below the planned first course, plus the depth of your aggregate base (typically 6 inches of compacted gravel).
- Prepare and compact the aggregate base. Fill the trench with ¾-inch crushed gravel and compact in 3-inch lifts with a plate compactor. Do not skip compaction.
- Set and level the first course. This is the most critical step. Every block in the first course must be level front-to-back and side-to-side. Use a 4-foot level and check frequently.
- Install drainage stone and pipe. Place a perforated drain pipe at the base of the wall, sloped to an outlet. Surround it with drainage stone and cover with filter fabric before backfilling.
- Stack subsequent courses. Stagger vertical joints by half a block. Maintain consistent batter per the manufacturer’s specification. Install geogrid layers at the intervals the manufacturer specifies for your wall height.
- Backfill and compact. Use granular fill (not clay) in 6-inch lifts, compacting each lift before adding the next course. Keep heavy compaction equipment at least 3 feet from the wall face.
- Install cap blocks and finish. Apply construction adhesive under cap blocks per the manufacturer’s recommendation. Grade the surface behind the wall to direct surface water away from the wall.
Tools you will need: plate compactor, 4-foot level, rubber mallet, block chisel or angle grinder with diamond blade, hand tamper, wheelbarrow, work gloves, safety glasses, and a line level with string.
Time estimate: a 20–40 foot run at 3 feet high typically takes two people a full weekend for excavation and base, and another day for block stacking and backfill. Factor in a half-day for drainage stone and pipe installation.
Pro Tip: After every third course, hold a level against the wall face to check for any forward lean. Catching a lean early, before the backfill is in, takes minutes to correct. Catching it after backfill means tearing down and starting over.
How much do backyard retaining walls cost in 2026?
A 30-foot run at 4 feet high can range from roughly $1,800 to $9,000 depending on material, and labor typically accounts for 40–60% of a professionally installed wall. Height is the dominant cost driver: doubling the height more than doubles the cost because of deeper footings, additional geogrid layers, and greater drainage requirements.
Example line-item budget: 30 ft × 3 ft segmental-block wall (DIY-installed)
- Block materials (SRW units, caps): $600–$900
- Aggregate base and drainage stone: $200–$350
- Perforated drain pipe and filter fabric: $80–$150
- Geogrid (if required): $100–$200
- Permit fee (if triggered): $150–$500
- Plate compactor rental: $80–$150/day
- Total DIY estimate: $1,200–$2,250
Example line-item budget: 30 ft × 4 ft poured concrete wall (contractor-installed)
- Excavation and footing: $800–$1,500
- Formwork and rebar: $600–$1,200
- Concrete pour: $700–$1,400
- Drainage system: $500–$1,000
- Labor: $1,200–$2,500
- Engineering and permit: $500–$1,500
- Total contractor estimate: $4,300–$9,100
Budget reality check: A retaining wall without proper drainage will fail; drainage typically adds $500–$3,000 to residential projects but is non-negotiable for long-term performance. Never treat drainage as an optional line item to cut when a budget gets tight.
What you cannot skip regardless of budget: drainage stone and pipe, a compacted aggregate base, and a footing that meets local frost-depth requirements. Engineering and permit fees, where triggered, typically run $500–$2,000 combined for a residential wall and are far cheaper than rebuilding a failed wall.
How long do retaining walls last, and what maintenance do they need?
Lifespan varies significantly by material, but drainage maintenance is the common thread across all of them. A well-drained wall of any material will outlast a poorly drained wall of a superior material.
| Material | Typical lifespan | Key maintenance |
|---|---|---|
| Timber | 15–25 years | Inspect for rot and insect damage annually; replace damaged timbers promptly |
| Gabion | 25–50 years | Check wire mesh for corrosion; repack settled stone fill every 5–10 years |
| Segmental block (SRW) | 40–50+ years | Clear weep holes annually; re-apply cap adhesive if blocks shift |
| CMU / mortared block | 50–100 years | Inspect mortar joints every 5 years; tuckpoint cracks before water infiltrates |
| Poured concrete | 50–100 years | Seal cracks promptly; inspect for horizontal cracking (a structural warning sign) |
| Natural stone | 50–100+ years | Re-point mortar joints (if mortared); reset shifted stones in dry-stack walls |
Seasonal inspection checklist:
- Look for bulging or forward lean in the wall face, which signals drainage failure or base movement.
- Check for horizontal cracking in concrete or CMU walls, which can indicate structural distress.
- Clear weep holes and outlet pipes of debris before the rainy season.
- Look for pooled water directly behind or at the base of the wall after heavy rain.
- Inspect cap blocks for movement or adhesive failure.
- Note any new vegetation growing in wall joints, particularly woody plants whose roots can displace blocks over time.
Freeze-thaw cycles in northern climates accelerate joint failure in mortared walls and can heave unburied base courses. In those regions, annual spring inspections are particularly important. Root pressure from large trees or shrubs planted close to the wall face is a slow but consistent threat to both dry-stack and mortared walls. Maintain a planting setback of at least 3–5 feet from the wall face for any plant that will develop a substantial root system.
Design and finish ideas that make retaining walls work harder
A retaining wall does not have to look utilitarian. The finish choices you make at the design stage determine whether the wall reads as a functional afterthought or as an intentional part of the backyard’s character.
Matching material to style is the starting point. Rough-faced natural boulders suit a desert or naturalistic garden. Smooth-faced poured concrete with a board-form texture works well in a modern or minimalist setting. Segmental block in a tumbled or split-face finish bridges traditional and contemporary styles and pairs naturally with pool surrounds and patio hardscape.
Capstones are the most visible finish detail on a block wall. A contrasting cap color or a wider cap that overhangs the face by 1–2 inches gives the wall a finished, intentional look. Belgard and Techo-Bloc both offer cap families that coordinate with their block lines, which simplifies the selection process.
Integrated seating and benches are one of the most practical finish upgrades for a terrace wall. A wall at 18–24 inches high with a wide cap becomes a seat wall, eliminating the need for separate outdoor furniture in a terraced garden or pool area.
LED step and edge lighting integrated into the wall face or cap adds safety and extends the usable hours of a terraced outdoor space. Low-voltage systems are straightforward to install during construction and far more disruptive to retrofit after backfill is in place. Plan conduit runs before the first block goes down.
For backyard design ideas that integrate walls with planting and hardscape, the combination of a terraced segmental-block wall, native plantings, and integrated lighting consistently produces the most cohesive results. Curved walls, multi-tiered steps, and walls that transition into seat walls or planters are all achievable with standard SRW systems when the layout is planned before excavation begins.
When does a design-build contractor make sense for your retaining wall?
The clearest signal that a design-build contractor is the right call is when the retaining wall is not a standalone project. Walls that tie into a pool surround, a patio, an outdoor kitchen, or a graded slope that affects drainage across the whole yard require coordination between trades that a single DIY effort or a specialty wall contractor cannot easily provide.
Walls that exceed the local permit trigger, require an engineered design, or sit on challenging soils are the other obvious category. In those cases, the value of a design-build firm is not just the construction itself but the in-house permitting workflow, the engineering coordination, and the ability to model the wall in context with the rest of the backyard before a shovel goes in the ground.
Uniquecompanies handles retaining-wall projects in the Phoenix metro area as part of integrated outdoor living builds. For a wall that ties into a pool terrace or a graded slope adjacent to a patio, the in-house design team models the wall, the hardscape, and the drainage together in 3D before construction begins. That workflow catches conflicts between the wall’s footing depth and existing utilities, or between the wall’s batter and the planned pool coping, before they become field problems.
Two scenarios where Uniquecompanies would handle the full scope: a sloped backyard in Scottsdale where a 5-foot retaining wall is needed to create a level pool deck, requiring an engineered footing, geogrid, and integration with the pool shell drainage; and a Queen Creek property where a series of terraced walls steps down a 10-foot grade change, with each tier planted and lit, and the lowest tier forming a seat wall around an outdoor kitchen. In both cases, the wall is not a wall project. It is a site-grading and outdoor-living project that happens to include walls.
For a simpler scope, such as a 3-foot garden bed wall on a flat lot with no surcharge, Uniquecompanies would typically recommend a capable DIY build with SRW block and point the homeowner toward the manufacturer’s installation guide. The Phoenix hardscape design and installation services are best matched to projects where the wall is one component of a larger outdoor transformation.
A practical take on retaining walls most guides skip
Most retaining-wall guides spend their word count on material comparisons and skip the decision that actually determines whether a project succeeds: the choice between a single tall wall and a series of shorter terraced walls.
A single 6-foot wall is almost always more expensive, more technically demanding, and more legally complicated than two 3-foot walls with a planted terrace between them. Terracing with multiple shorter walls is often more cost-effective and lower-risk than a single tall wall because it frequently avoids the engineering threshold and uses simpler construction for each tier. The planted terrace between tiers also improves drainage, reduces hydrostatic pressure on each wall, and creates a more livable outdoor space.
The other point that gets underweighted is permanence versus cost. Timber is cheap and easy to build, but replacing a timber wall in 15–20 years costs more in total than building a segmental-block wall once. If the wall is in a location you plan to keep, the material with the longer service life is almost always the better financial decision over a 20-year horizon. Spend the money on drainage and base compaction regardless of which material you choose. Those two line items determine whether any wall lasts.
Uniquecompanies handles the walls your backyard actually needs
When a retaining wall is part of a larger backyard project, the complexity compounds quickly. Grading, drainage, pool placement, patio layout, and wall engineering all interact, and a mistake in any one of them affects the others. Uniquecompanies brings over 24 years of Phoenix-area outdoor living experience to exactly these integrated builds, handling design, permitting, engineering coordination, and construction under one roof.
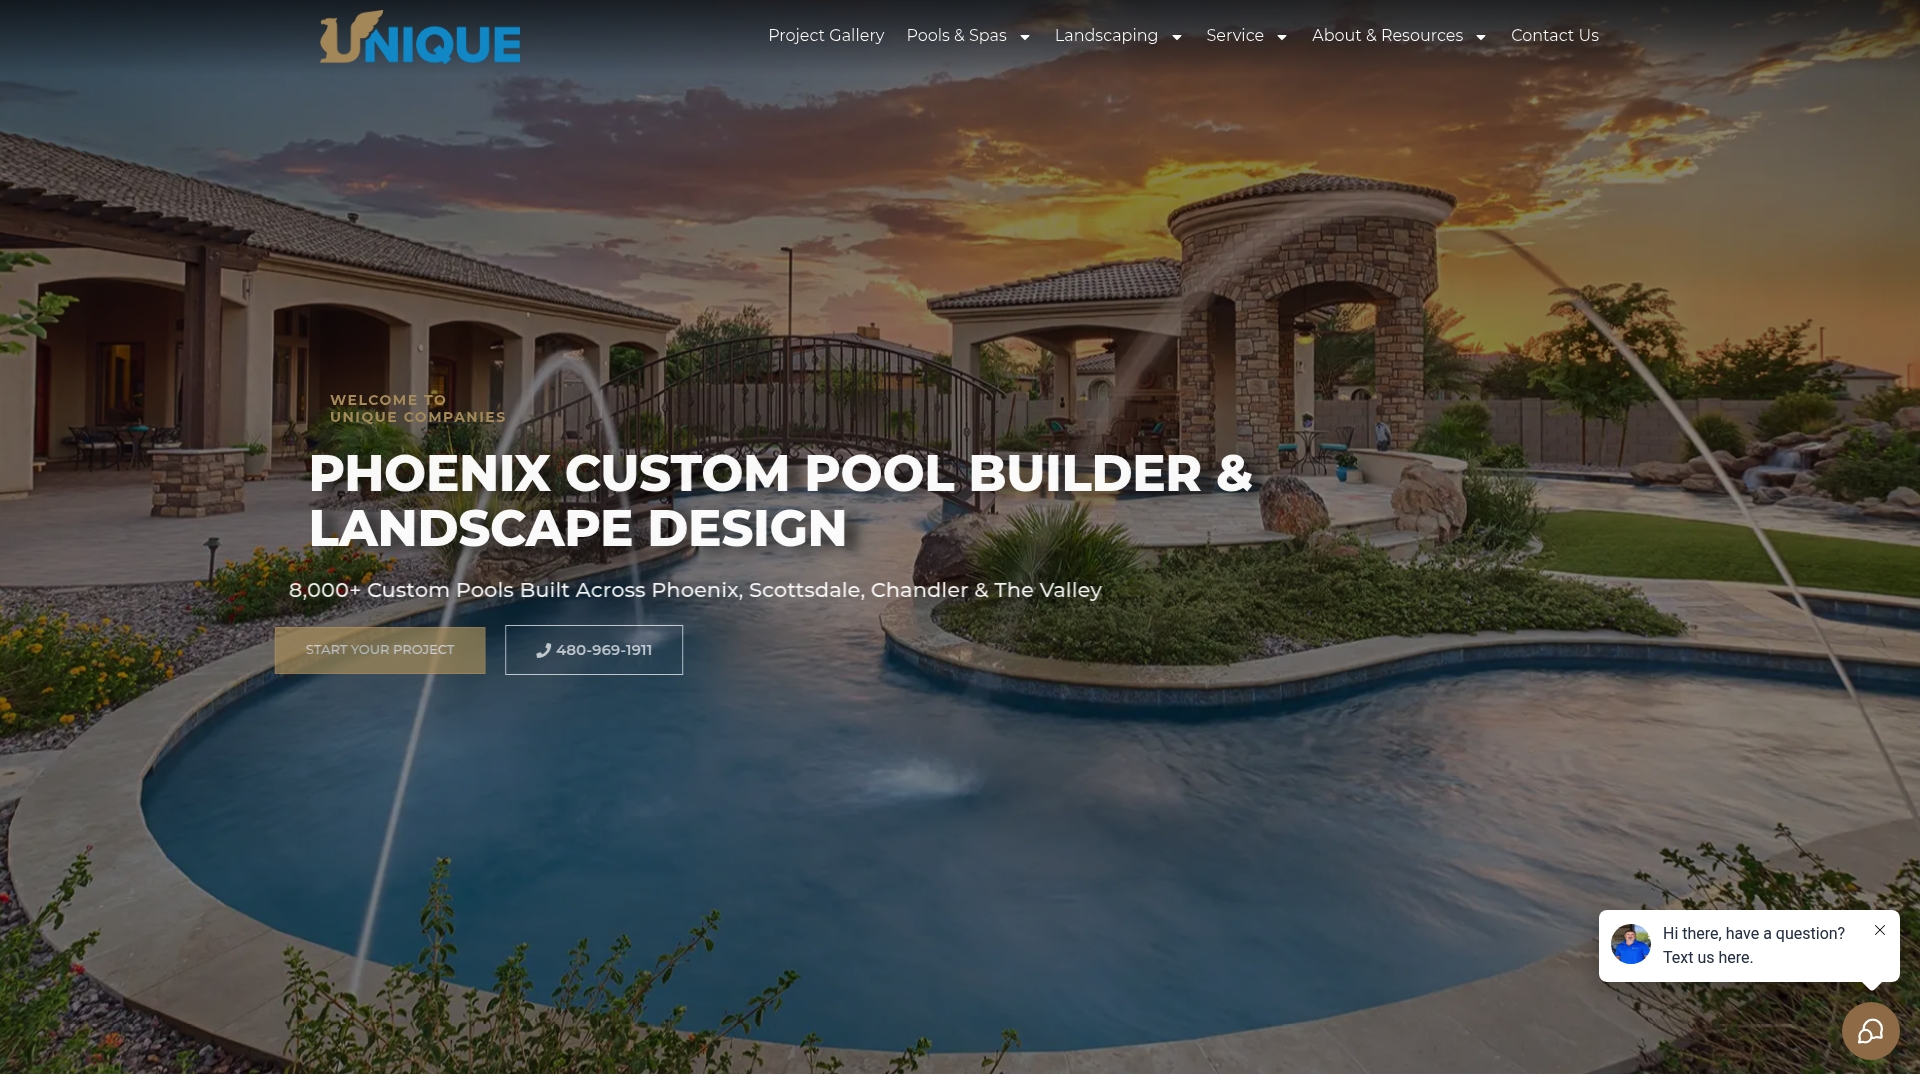
For homeowners in Scottsdale, Chandler, Queen Creek, and surrounding Phoenix metro communities, Uniquecompanies offers in-house 3D design visualization so you can see how a terraced wall, a pool surround, or a graded hardscape will look before construction begins. The team manages permit submittals and engineering coordination directly, which removes the back-and-forth between a homeowner, a wall contractor, and a separate engineer that often delays projects. Whether the scope is a single engineered wall tied to a custom pool feature or a full site-grading and outdoor-living build, the process runs from concept to final inspection with one point of contact. To discuss your project and get a site assessment, contact Uniquecompanies directly through the Phoenix hardscape design page.
Sources
These sources provide reliable, jurisdiction-specific or technically grounded guidance for homeowners planning a retaining-wall project:
- Retaining Wall Engineering Standards: Design & Code Guide
- Retaining Wall Cost: Prices by Material, Height & Length (2026) | HomeCostLab
- 15 – Retaining Walls | Bureau of Engineering
For model code references, IBC Section 1807 and IRC Appendix R are the starting points, but always confirm with your local building department, since local amendments frequently set lower height thresholds or add surcharge-specific requirements that the model codes do not address.